Spicy Miso Noodle Soup

October is here, which means I can officially eat soup for every meal without feeling like a total weirdo. My first culinary venture of the fall season was a recipe for Udon Miso Noodle Soup from Well Vegan, a company I blog for weekly. You can read those posts here. I also wrote an eBook for Well Vegan last winter, which you can (should) buy here.

With that shameless plug out of the way, here's my version of Well Vegan's recipe for Udon Miso Noodle Soup. It's incredibly quick and easy to make. If you don't live near a Trader Joe's, you can always use vegetable broth mixed with 2 tablespoons of white miso instead of the Ginger Miso Broth. I hope this soup warms the cockles of your heart like it did mine!

Spicy Miso Noodle Soup
Yields 2 - 4 servings

Ingredients

  • 1 (12 oz.) package fresh soba noodles (or other pasta)
  • 4 cups Trader Joe's Ginger Miso Broth
  • 1/2 cup shredded carrots
  • 1/2 cup snow peas, sliced on the diagonal
  • 1/2 cup fresh mushrooms, sliced
  • 1/2 cup green onions, sliced
  • 1 cup bok choy, roughly chopped
  • 1/2 package firm tofu, diced
  • 2 teaspoons Sriracha

Instructions

  1. Cook the noodles according to package directions, drain and set aside.
  2. In a large saucepan, bring the Ginger Miso Broth to a boil. Lower the heat to medium and add the Sriracha sauce and carrots. Cook until the carrots are crisp-tender, 1 to 2 minutes.
  3. Add the snow peas and cook until slightly tender but still bright green, about 1 minute. Add the mushrooms, bok choy, and tofu. Cook for 30 seconds and remove from heat.
  4. Stir in the noodles and the green onions until thoroughly combined. Ladle into soup bowls and garnish with additional Sriracha to taste.

Vegan Blueberry Cream Cheese

When I ate cheese, I was an equal opportunity consumer. You name it, I ate it. Now that I follow a vegan diet, I have way less options. And by less, I mean none. Because honestly, I'd rather eat no cheese than the shredded, soy-based stuff from the grocery store. Gross. No thanks.

That's why I decided to make my own cream cheese out of real, plant-based ingredients. Being a bagel gal (as opposed to a donut gal), I've always been a big fan of sweet and savory spreads. So, as you can imagine, I was really excited to stumble upon this recipe for Vegan Blueberry Cream Cheese from The Vegan 8. With the promise of enjoying a bagel topped with something other than hummus for the first time in ages, I gathered my ingredients and got to work.

The end result? A beautiful, creamy, delicious spread that... tasted nothing like cream cheese. But really, what can you expect from a bunch of soggy cashews mixed with blueberries, pickle juice, maple syrup, and apple cider vinegar? If you can get past the funky ingredient list, this recipe is definitely worth a try. Just don't expect to end up with something that tastes like the dairy-based cream cheeses you know and love. 

Vegan Blueberry Cream Cheese
Source: The Vegan 8

Ingredients

  • 1 cup raw whole cashews, soaked at least 12 hours
  • 1½ tablespoons fresh lemon juice
  • 1 tablespoon dill pickle juice
  • ½ teaspoon apple cider vinegar
  • ⅛ teaspoon fine sea salt
  • 1 tablespoon pure maple syrup
  • ¼ cup fresh blueberries + 2 extra tablespoons for stirring in at the end

    Note from the author: Don't be tempted to add extra blueberries, or it can water down the cheese and affect it from setting up. 

Instructions

  1. After your cashews have soaked, drain them well and add to a food processor. Add the lemon juice, pickle juice and apple cider vinegar. Process until a somewhat smooth paste forms. Scrape the sides down well and process again. It doesn't have to be perfectly smooth at this point.

  2. Sprinkle the salt around on the cheese mixture, and add the syrup and blueberries. Process until mixed, scrape down the sides and process for several minutes. Walk away and let it run until completely smooth. The longer it runs, the smoother it will be.

  3. Taste it and if you want it sweeter, add a little more syrup, but keep in mind the blueberry cream cheese flavor will be more prominent after it has become very chilled in the fridge. You will also be stirring some blueberries in as well for flavor.

  4. Scrape all the cream cheese out and add it to a container or bowl. Stir in the 2 tablespoons of blueberries and place in the fridge to completely chill and firm up overnight or several hours.

BBQ Tofu Skewers with Sriracha

Are you in denial that the grilling season is coming to a close? Labor Day is creeping up on us, which marks the unofficial end to summer and the start of a six-month hibernation for your George Foreman. Sob.

Before you throw the dust cover on your beloved grill that has contributed to so many backyard barbecues, delicious meals and singed eyebrows, I suggest firing it up one last time for this bangin’ BBQ tofu recipe. It’s simple, delicious, and doesn’t require a ton of time or ingredients. Plus, it’ll give you a good excuse to use up your extra summer veggies or make one last trip to the farmers’ market for the season. Let’s do this.

BBQ Tofu Skewers with Sriracha
Yields 2-3 servings

Ingredients

  • 1-14 oz package of extra-firm tofu
  • 1 cup BBQ sauce
  • 2 tablespoons of Sriracha (more or less to taste)
  • Cooking spray

Optional add-ons:

  • Bell pepper
  • Onion
  • Mushrooms
  • Zucchini
  • Summer squash
  • Cherry tomatoes

Instructions

  1. Press tofu for 30 minutes to release as much water as possible. Cut the slab into ½-inch thick slices, and then quarter each slice.
  2. Pour half of the BBQ sauce into a glass dish with 1 tablespoon of Sriracha sauce and give it a good stir.
  3. Place the tofu in the dish and top with the remaining BBQ sauce and Sriracha. Toss gently to coat each piece. Let the tofu marinate in the sauce for at least one hour, turning occasionally.
  4. Prep the grill by giving it a good coat of cooking spray. This will prevent the tofu from sticking to the grate. Pre-heat the grill to medium-high heat.
  5. Once your tofu is done marinating, thread each piece onto metal or bamboo skewers, alternating with chunks of bell pepper, onion, mushroom, zucchini, summer squash, and cherry tomatoes.
  6. Grill each skewer for 10 minutes, or to desired doneness. Rotate the skewers frequently to prevent the tofu from overcooking on one side.
  7. Serve with a side of brown rice (or the grain of your choice) and use any remaining marinade as a dipping sauce.

Sweet Potato, Arugula and Quinoa Hash

I made up a recipe today. I never do this. Typically, the craziest I get in the kitchen is swapping kale for spinach when I don’t have any on hand. Today I decided I would just wing it. And I totally nailed it.

After splitting a rather large pizza with friends last night, my body was craving an ultra-balanced vegan breakfast. I’m talking healthy carbs, protein, healthy fats, and loads of green stuff. Of course, it had to be really flavorful, too. After digging through the fridge this is what I came up with. I have to say, this recipe is a keeper. Whip it up in 30 minutes or less whenever you feel like shocking your system with a ton of nutrients. Plus, it’ll keep you full for hours. 

Sweet Potato, Arugula and Quinoa Hash
Yields 2-3 servings

Ingredients:

  • 1 medium-sized sweet potato, diced
  • 2 handfuls of arugula
  • 1 cup quinoa, rinsed 
  • 1 avocado, diced
  • ½ cup onion, diced (I used yellow onion)
  • 2 tablespoons olive oil, plus more for frying
  • ¼ teaspoon cayenne pepper (optional)
  • Hot sauce (optional)
  • Salt and pepper, to taste

Instructions:

  1. Cook quinoa according to package directions and divide among plates.
  2. While quinoa is cooking, add diced sweet potato and 2 tablespoons of olive oil to a small bowl and stir. Season the sweet potatoes with salt, pepper, and cayenne pepper, mixing until each chunk is evenly coated.
  3. Warm a thin layer of olive oil in a skillet over medium heat. Add seasoned sweet potatoes to the skillet and cook for about 20 minutes, or until soft in the center when poked with a fork. 
  4. When the sweet potatoes are just about done, add the onion to the skillet and cook for 2-3 more minutes.
  5. Rinse the arugula under cool water. Shake it to remove excess water, but don’t dry it. The water droplets will help the arugula steam in the skillet.
  6. Add the rinsed arugula to the skillet just before the sweet potatoes and onions are done cooking. Stir to combine, and cook until arugula has just wilted.
  7. Spoon the sweet potato, onion, and arugula mixture on top of the cooked quinoa on each plate. Top with diced avocado and hot sauce if desired.

Protein Power Bowl

I am the actual worst at updating this blog. I’ve been so busy writing for other people (a good problem to have) that I’ve neglected my own hobby. I have so much shame.

Anyway, here I am with a breakfast recipe. I’ve been eating avocado toast for the better part of a year, and I’m just plain sick of it. Don’t get me wrong – I love avocado toast. It’s one of my favorite things to eat. But I’ve been craving some variety in my breakfast routine as of late, and I think this Protein Power Bowl is a keeper.

I got the recipe from Trader Joe’s a long time ago but could never bring myself to buy hemp protein powder to make it. But I did yesterday, and now I’m officially a hippie. You don’t have to be a hippie to make this, though. You just have to have a blender. 

Protein Power Bowl
Yields 2-3 servings

Ingredients:

  • 1 cup frozen berries
  • 1 cup almond milk
  • 2 tablespoons organic hemp protein powder (vanilla flavor)
  • 3 tablespoons creamy unsalted peanut butter
  • 1 tablespoon chia seeds (or flax seeds)
  • 2 bananas
  • 1 cup granola
  • 1 tablespoon agave sweetener (optional)

Instructions:

  1. Toss frozen berries, almond milk, protein powder, peanut butter, chia seeds, and 1 banana in a blender. Pulse until liquified.
  2. Split mixture into two serving bowls. Top each bowl with granola, sliced banana, and sweetener if desired.

Beets & Brussels Sprouts with Balsamic Reduction

Recipe inspired by DishingUpTheDirt.com

When I was a little kid I loved beets. It’s a strange thing for a child to like, but then again I also drank a bowl of salsa at Chi-Chi’s when I was a baby. Anyway, I took a break from beets for about 20 years and only recently rediscovered the root vegetable that’s making its way into tacos, pizza, omelets, and just about any other dish that needs an immunity boost.

I don’t know about you, but I’ve always been under the impression that beets are basically void of any nutritional value. As it turns out, I was wrong. Beets are actually amazing for your health. They’re high in potassium, magnesium, fiber, phosphorus, iron, vitamins A, B and C, beta-carotene, and a bunch of other vitamins and minerals. Beets can also help lower your blood pressure, ward off cancer, and support your body’s detoxification process. Who knew?

Last week I hosted a dinner for my roommates and friends and decided to test out this recipe for Beet and Brussels Sprout Salad with Balsamic Reduction. I wasn’t sure how keen everyone would be on eating two funky vegetables rolled into one dish, but it was actually a massive hit and everyone was fighting over the last little bits. I also made African Peanut Stew, but it was eaten so quickly I didn’t have a chance to take a picture of it. Better luck next time!

Beets & Brussels Sprouts with Balsamic Reduction
Yields 4 servings

Ingredients:

  • 4 tablespoons extra-virgin olive oil divided + additional for serving
  • 4 to 5 medium-sized beets, trimmed and sliced into 1/2 inch rounds
  • 1 pound of brussels sprouts, trimmed and sliced in half lengthwise
  • 1/2 teaspoon sesame seeds
  • 1/2 teaspoon marjoram
  • 1/2 teaspoon oregano
  • 1/2 teaspoon thyme
  • salt and pepper to taste
  • 1 cup balsamic vinegar

Instructions:

  1. Preheat the oven to 425 degrees.
  2. Drizzle the sliced beets with 2 tablespoons of the oil. Toss until well coated and place on a  baking sheet in a single layer. Sprinkle with a little salt and pepper.
  3. Drizzle the sliced brussels sprouts with the remaining 2 tablespoons of oil. Place on a separate baking sheet. Roast the vegetables in the oven until lightly browned and fork tender. Anywhere from 18-25 minutes. The beets may cook faster so check on them frequently. Also, remove smaller beets as needed as they’ll be done before the larger slices. Toss the veggies halfway through cooking.
  4. While vegetables cook prepare the balsamic reduction. Place the vinegar in a small saucepan over medium-high and bring to a low boil. Reduce the heat to medium-low and simmer the vinegar, stirring often, for about 15 minutes, until it has roughly reduced by two-thirds. Keep a close eye on it as you don’t want it to burn. When the vinegar coats a spoon it’s ready to rock! Remove from the heat and let the vinegar slightly cool.
  5. Serve the salad by dividing the brussels and beets among plates. Sprinkle with the spices and a drizzle of the balsamic reduction. Season to taste with salt, pepper and a little more oil.

Sesame Kale & Broccoli Stir-Fry Bowl

Recipe inspired by TheGlowingFridge.com

I love kale. And I’m not just saying that because it’s trendy right now. I don’t care that everyone is putting it in their post-yoga breakfast smoothies and making pesto out of it. I’m still going to eat it. And I do eat it – often. In fact, sometimes I get desperate to put the green stuff in my body. It just feels so good. And, I always know where to find it, even in the most bizarre circumstances. For example, last year at my friend’s St. Patrick’s Day party I helped myself to the garnish from the sandwich tray. I tore that kale-looking stuff into little pieces, tossed it with olive oil and salt, and baked it in the oven. I was the only one at the party who ate those kale chips, and I was very pleased with myself. I’m still not convinced that garnish was kale, but I try not to think about it.

Anyway, this week’s recipe features the two trendiest foods on the planet right now: kale and quinoa. It also has tempeh in it, which I’m typically not a fan of. It looks weird in the package and I don’t like the texture. But I’ve found that when you chop it up really small and sauté it with healthy greens and grains, it’s not only tolerable – it’s actually really good. Ok, I’m getting hungry. Here we go!

Sesame Kale & Broccoli Stir-Fry Bowl
Yields 3 servings

Ingredients:

  • 1 cup quinoa
  • 1 tablespoon coconut oil/sesame oil
  • 1/2 of a red onion
  • 1 clove garlic, minced
  • 3 cups kale, de-stemmed
  • 2 cups broccoli florets (about 1 small head)
  • 4 ounces of tempeh, chopped/crumbled
  • 1/2 can of chickpeas, drained and rinsed
  • 2 tablespoons soy sauce
  • 2 tablespoons water
  • juice from 1 lime
  • 1/2 tablespoon dijon mustard
  • 1 teaspoon fresh ginger, minced (or powdered)
  • 1/2 teaspoon black pepper
  • dash of red pepper flakes (optional)
  • 2 tablespoons sesame seeds (black or white)

Instructions:

  1. Combine 1 cup quinoa with 2 cups water in a medium-sized pot. Bring to a boil and reduce heat to simmer for about 15 minutes or until all water has been absorbed.
  2. Meanwhile, in a large saucepan or skillet, melt the coconut oil on medium-high heat. Add the red onion and sauté for 2-3 minutes. Add the garlic, kale, broccoli, chickpeas and tempeh. Sauté for about 3 minutes.
  3. In a small bowl, combine the soy sauce, water, lime juice, dijon mustard, ginger, pepper, red pepper flakes and sesame seeds. Add mixture to saucepan with vegetables and mix until well combined. Cook for about 2 more minutes.
  4. Once quinoa is finished cooking, scoop it into 2-3 bowls and top with the vegetable mixture. Add extra soy sauce as needed.

Tofu Tikka Masala

Recipe inspired by Allrecipes.com

There’s an Indian restaurant on Chicago’s northwest sidethat will forever be my favorite place to eat until I’m uncomfortably full.Their lunch buffet taunts me with an ever-rotating selection of foods I can’t pronounce and heaps of garlic naan that does a fantastic job of sopping up the various flavors that manage to escape my fork. As I waddle out of the restaurant preparing myself for the impending food coma, I always promise myself I’ll save the 20 bucks next time and learn to make myself an Indian feast at home.

I don’t live in Chicago anymore, so the promise I made to myself became something I actually had to follow through with. That, or I had to find a new favorite Indian restaurant in Los Angeles. In case you didn’t get the memo from my first blog post, there is no good food in Los Angeles (except Taco Zone). So, I started experimenting in my kitchen. I have tried many times to replicate the complex flavor of the Tikka Masala sauce from Cumin without success, but I think I’ve finally nailed it. It’s not authentic by any means, but I don’t even care. It totally hits the spot when I’m craving something sweet and spicy.

image

Tofu Tikka Masala
Yields 4 servings

Ingredients:

  • 1 cup of brown rice, uncooked
  • 2 tablespoons of Earth Balance
  • 1 onion, finely chopped
  • 4 garlic cloves, minced
  • 1 tablespoon ground cumin
  • 1 teaspoon salt
  • 1 teaspoon ground ginger
  • 1 teaspoon cayenne pepper
  • ½ teaspoon ground cinnamon
  • ¼ teaspoon ground turmeric
  • 1 (14-ounce) can tomato sauce
  • 1 cup coconut milk
  • 2 teaspoons paprika
  • 1 tablespoon white sugar
  • 1 tablespoon vegetable oil
  • 1 container of extra firm tofu, drained and cut into bite-size pieces
  • ½ teaspoon curry powder
  • ½ teaspoon salt, or to taste (optional)
  • 1 teaspoon white sugar, or to taste (optional)
  • Green onions and/or cilantro for garnish (optional)

Instructions:

  1. Cook your brown rice according to the package directions and set aside.
  2. Heat Earth Balance in a large skillet over medium heat. Cook and stir onion until translucent, about 5 minutes. Stir in garlic; cook and stir just until fragrant, about 1 minute. Stir cumin, 1 teaspoon salt, ginger, cayenne pepper, cinnamon, and turmeric into the onion mixture; fry until fragrant, about 2 minutes.
  3. Stir tomato sauce into the onion and spice mixture, bring to a boil, and reduce heat to low. Simmer sauce for 10 minutes. Then mix in coconut milk, paprika, and 1 tablespoon sugar. Bring sauce back to a simmer and cook, stirring often, until sauce is thickened, 10 to 15 minutes.
  4. Heat vegetable oil in a separate skillet over medium heat. Stir tofu into the hot oil, sprinkle with curry powder, and sear for about 7 minutes, until golden brown. Transfer tofu and any pan juices into the sauce. Simmer tofu in sauce for about 5 minutes; adjust salt and sugar to taste.
  5. Spoon the Tofu Tikka Masala over brown rice and serve immediately.

Sun-Dried Tomato, Mushroom, and Kale Tofu Quiche

Recipe inspired by OhSheGlows.com

Quiche is not something I thought I’d ever have the desire to make. Quiche is something women eat at baby showers while they talk abouthow great their lactation coaches are and whether or not they want to vaccinate their kids. No thanks, not for me. I don’t want any part of your weird breakfast pie or baby conversation. Or do I?

After I stopped eating eggs, any trace thoughts I had about quiche (can one have trace thoughts about quiche?) evaporated from my conscious mind. But for some reason Angela Liddon’s recipe for Sun-Dried Tomato, Mushroom, and Spinach Tofu Quiche stood out to me while I was browsing Oh She Glows for some vegan breakfast inspiration. Boy, am I glad my maternal instinct for a savory, circular breakfast kicked in.

This recipe is simple to throw together, smells amazing in the oven, and feeds me for several days. Waking up and not having to make breakfast is a beautiful thing.

image

Sun-Dried Tomato, Mushroom, and Kale Tofu Quiche
Yields 8 servings

Ingredients:

  • 1 frozen pie crust (Trader Joe’s has a good one)
  • 1 block (14-oz) firm tofu
  • 1 tablespoon coconut oil or olive oil
  • 1 leek or yellow onion, thinly sliced
  • 3 large garlic cloves, minced
  • 3 cups (8-oz) sliced cremini mushrooms
  • 1/2 cup fresh chives, finely chopped
  • 1/2 cup fresh basil leaves, finely chopped
  • 1/3 cup oil-packed sun-dried tomatoes, finely chopped
  • 1 cup kale, stems removed
  • 2 tablespoons nutritional yeast
  • 1 teaspoon dried oregano
  • 1 teaspoon fine grain sea salt
  • Black pepper, to taste
  • Red pepper flakes, to taste

Instructions:

  1. Preheat the oven to 350F and lightly grease a 10-inch pie pan or 9-inch glass pie dish. Take your pie crust out of the freezer and let it thaw while you prepare the quiche filling.
  2. Drain tofu and wrap it in a few paper towels to release as much water as possible. Once dry, break apart the tofu block into about eight pieces and add it to the food processor. Process the tofu until it’s nice and creamy. If it doesn’t get creamy on its own, add a touch of plain soy or almond milk to help it along.
  3. In a skillet, add oil and sauté the leek (or onion) and garlic over medium heat for a few minutes. Stir in the mushrooms, season with salt, and cook on medium-high heat until most of the water cooks off the mushrooms, about 10-12 minutes. Stir in the herbs, sun-dried tomatoes, kale, nutritional yeast, oregano, salt, pepper, and red pepper flakes until combined. Cook until the kale is wilted.
  4. Remove from heat and stir in the processed tofu until thoroughly combined. Adjust seasoning to taste if desired.
  5. Now that your pie crust is defrosted, unroll it and press it into your pie pan or dish.
  6. Spoon the tofu/veggie mixture into the pie crust and smooth out with a spoon until even.
  7. Bake quiche uncovered, at 375F for 33-37 minutes, until the quiche is firm to the touch. For best results, cool the quiche for 15-20 minutes on a cooling rack before attempting to slice.
  8. Wrap up leftovers and refrigerate for 3-4 days. Leftover quiche can be reheated in the oven on a baking sheet for about 15-20 minutes at 350F.

I'm Kate, and I'm Hungry

Many people say they were born to be mothers. Some to write music, and others to be bus drivers. I was born to eat food. 

This is actually really ironic, because I didn’t want to eat food for the first year after I was born. I slept 23 hours a day and my parents had to shake me awake so they could feed me.

These days I can’t seem to fill my body with enough food. It’s just so good. I guess you could say I’m making up for lost time.

I went to college in Chicago and stayed in that beautiful, frigid city for eight years before moving to Los Angeles. We had a good run. I ate its Thai food, drank its craft beer, and made several rounds to every vegan and vegetarian restaurant I could find. Life was good.

Now that I’m in Los Angeles, life is good for different reasons. For example, it’s the middle of January and I’m sitting outside with no shoes on. My feet are happy. I wish I could say the same for my tastebuds. I’m going to say this once and I’ll probably say it a few more times: LA, you’re just not good at food.

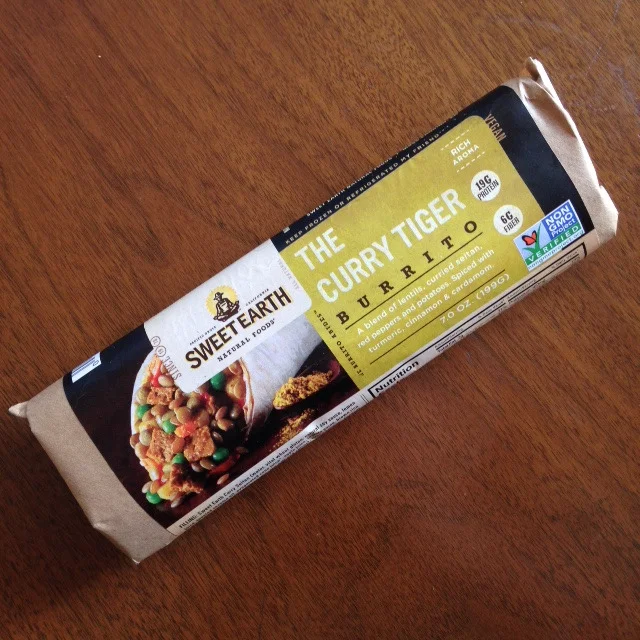
I’ve tried your Thai, I’ve tried your pizza. You should stick to what you know, which is taco trucks. And that’s it. After being disappointed by the food scene so many times (exception: Taco Zone), I decided my dollars are better spent buying groceries from Trader Joe’s and making food I actually like.

When you don’t have many dollars to begin with, a crappy plate of noodles that costs $13 feels like a swift kick to the ribcage. That’s where I keep my money, in case you were wondering.

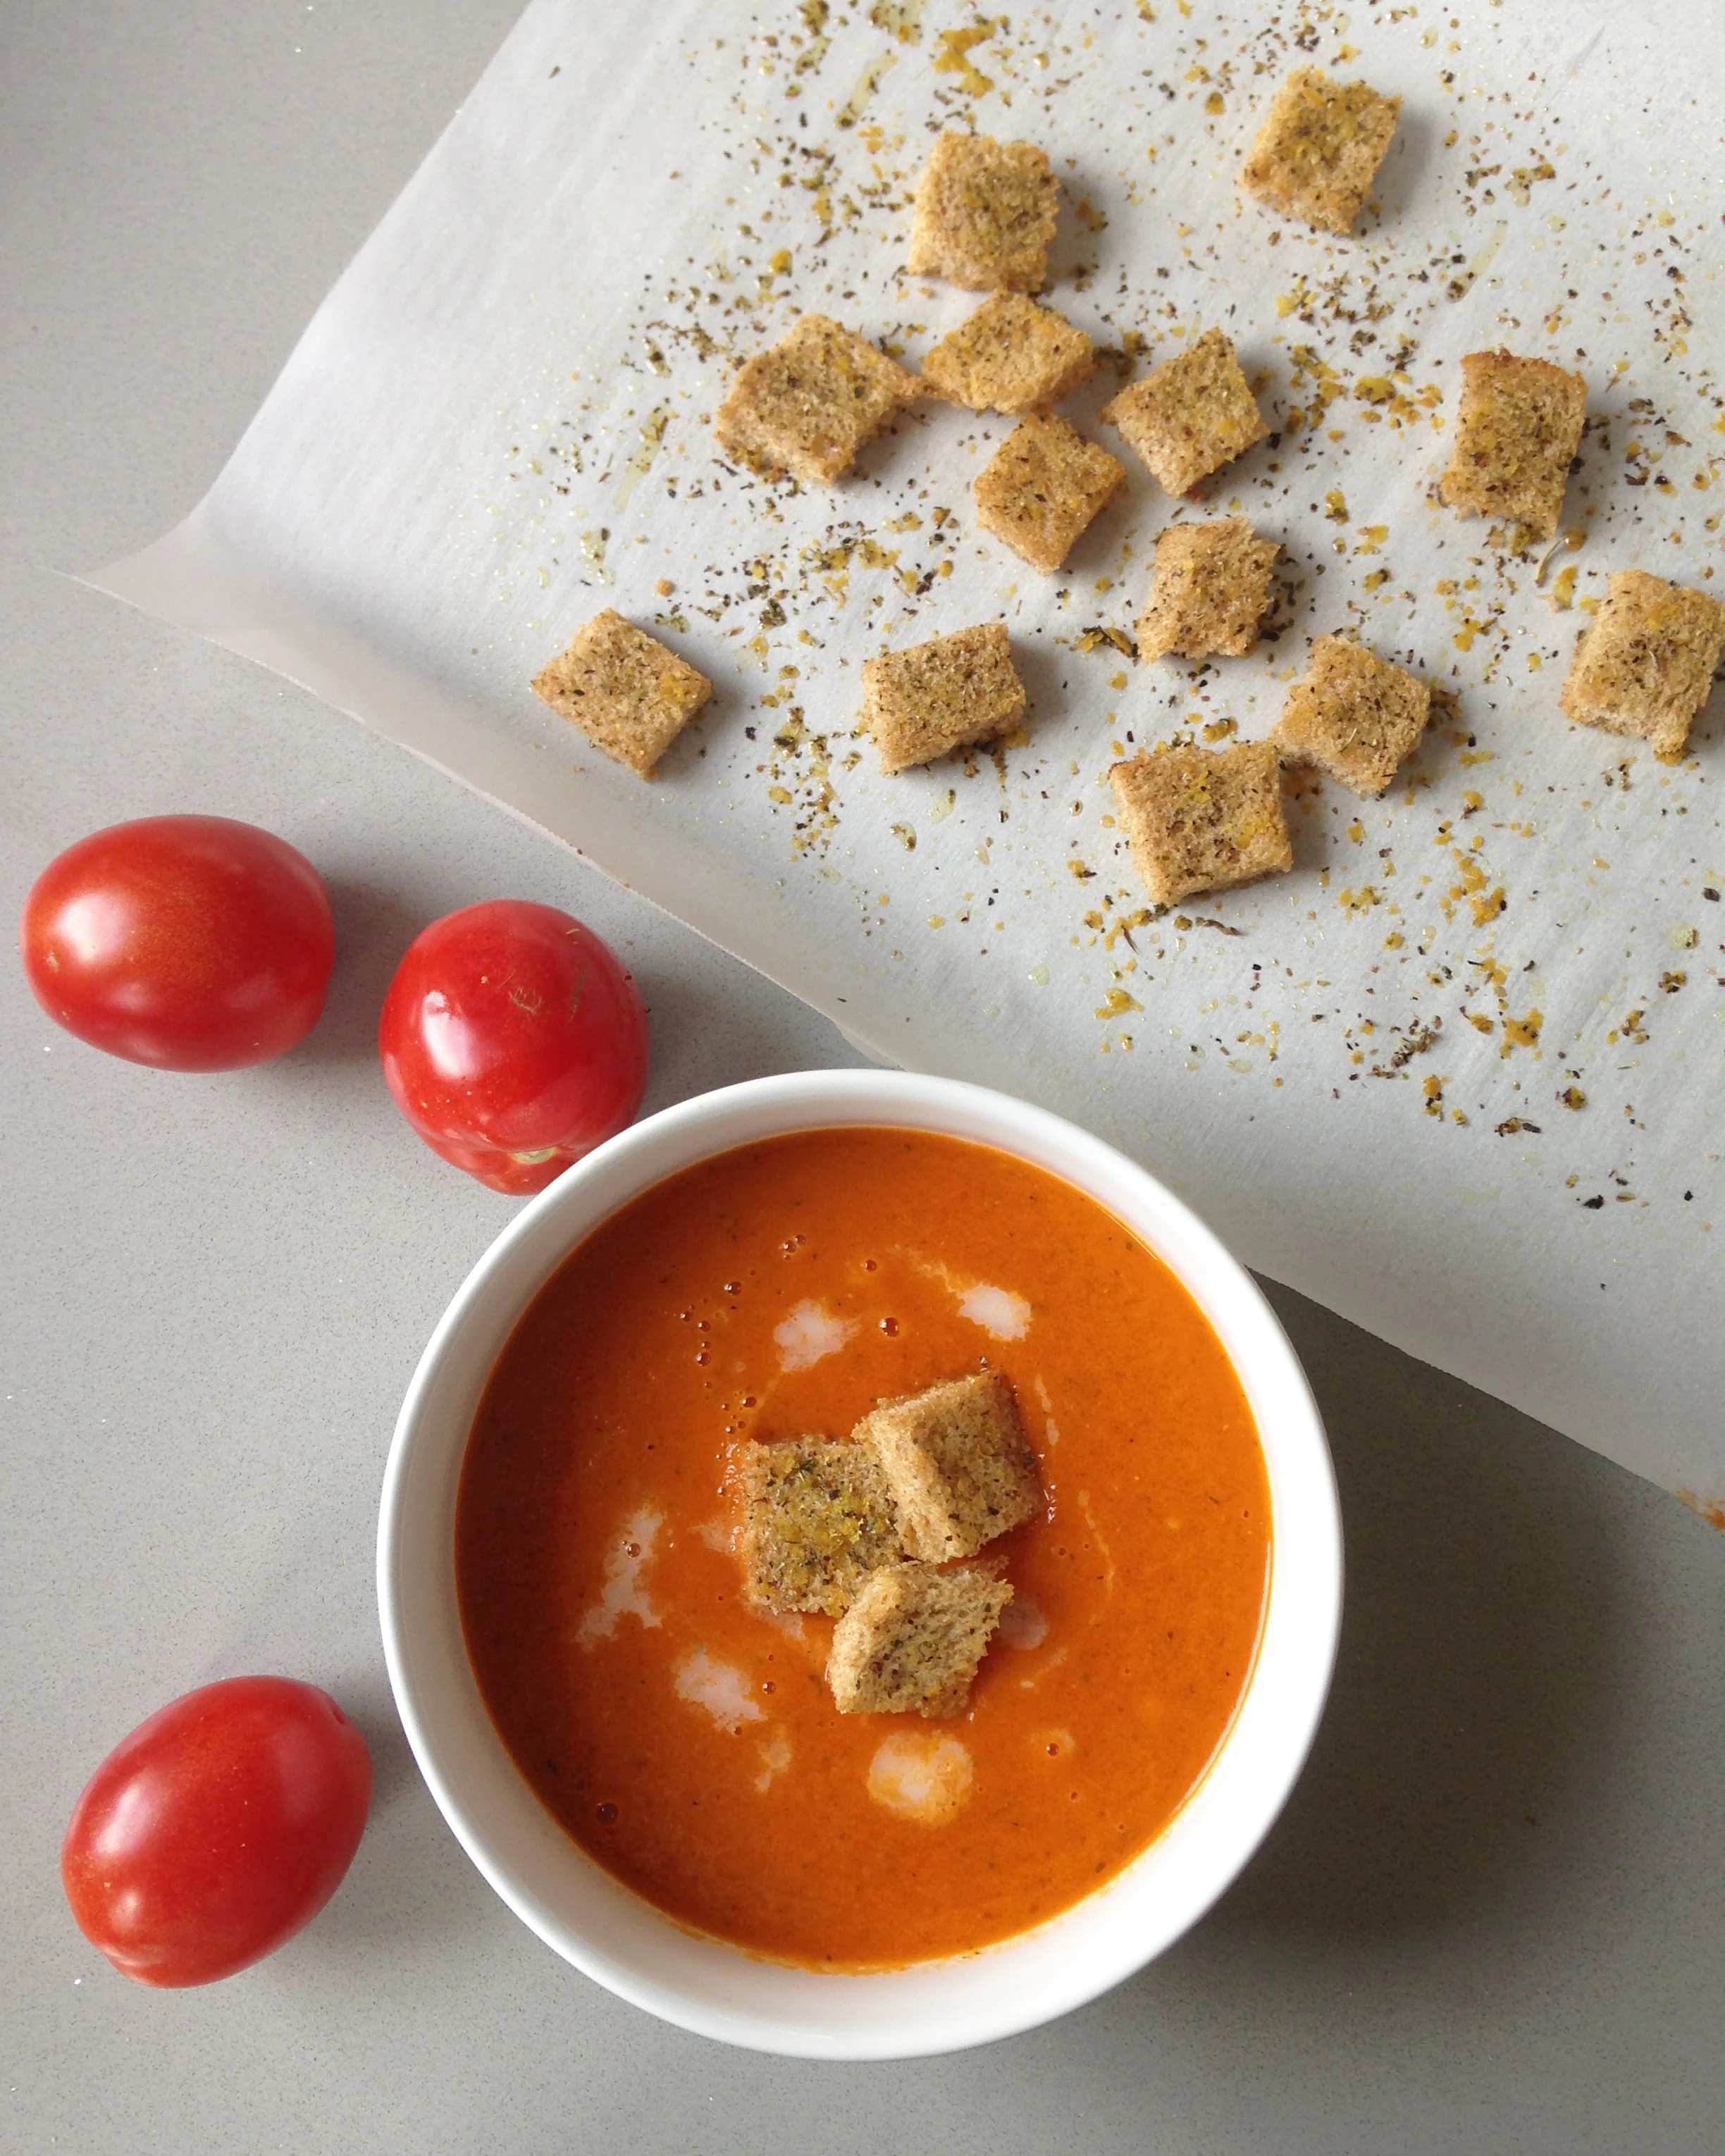
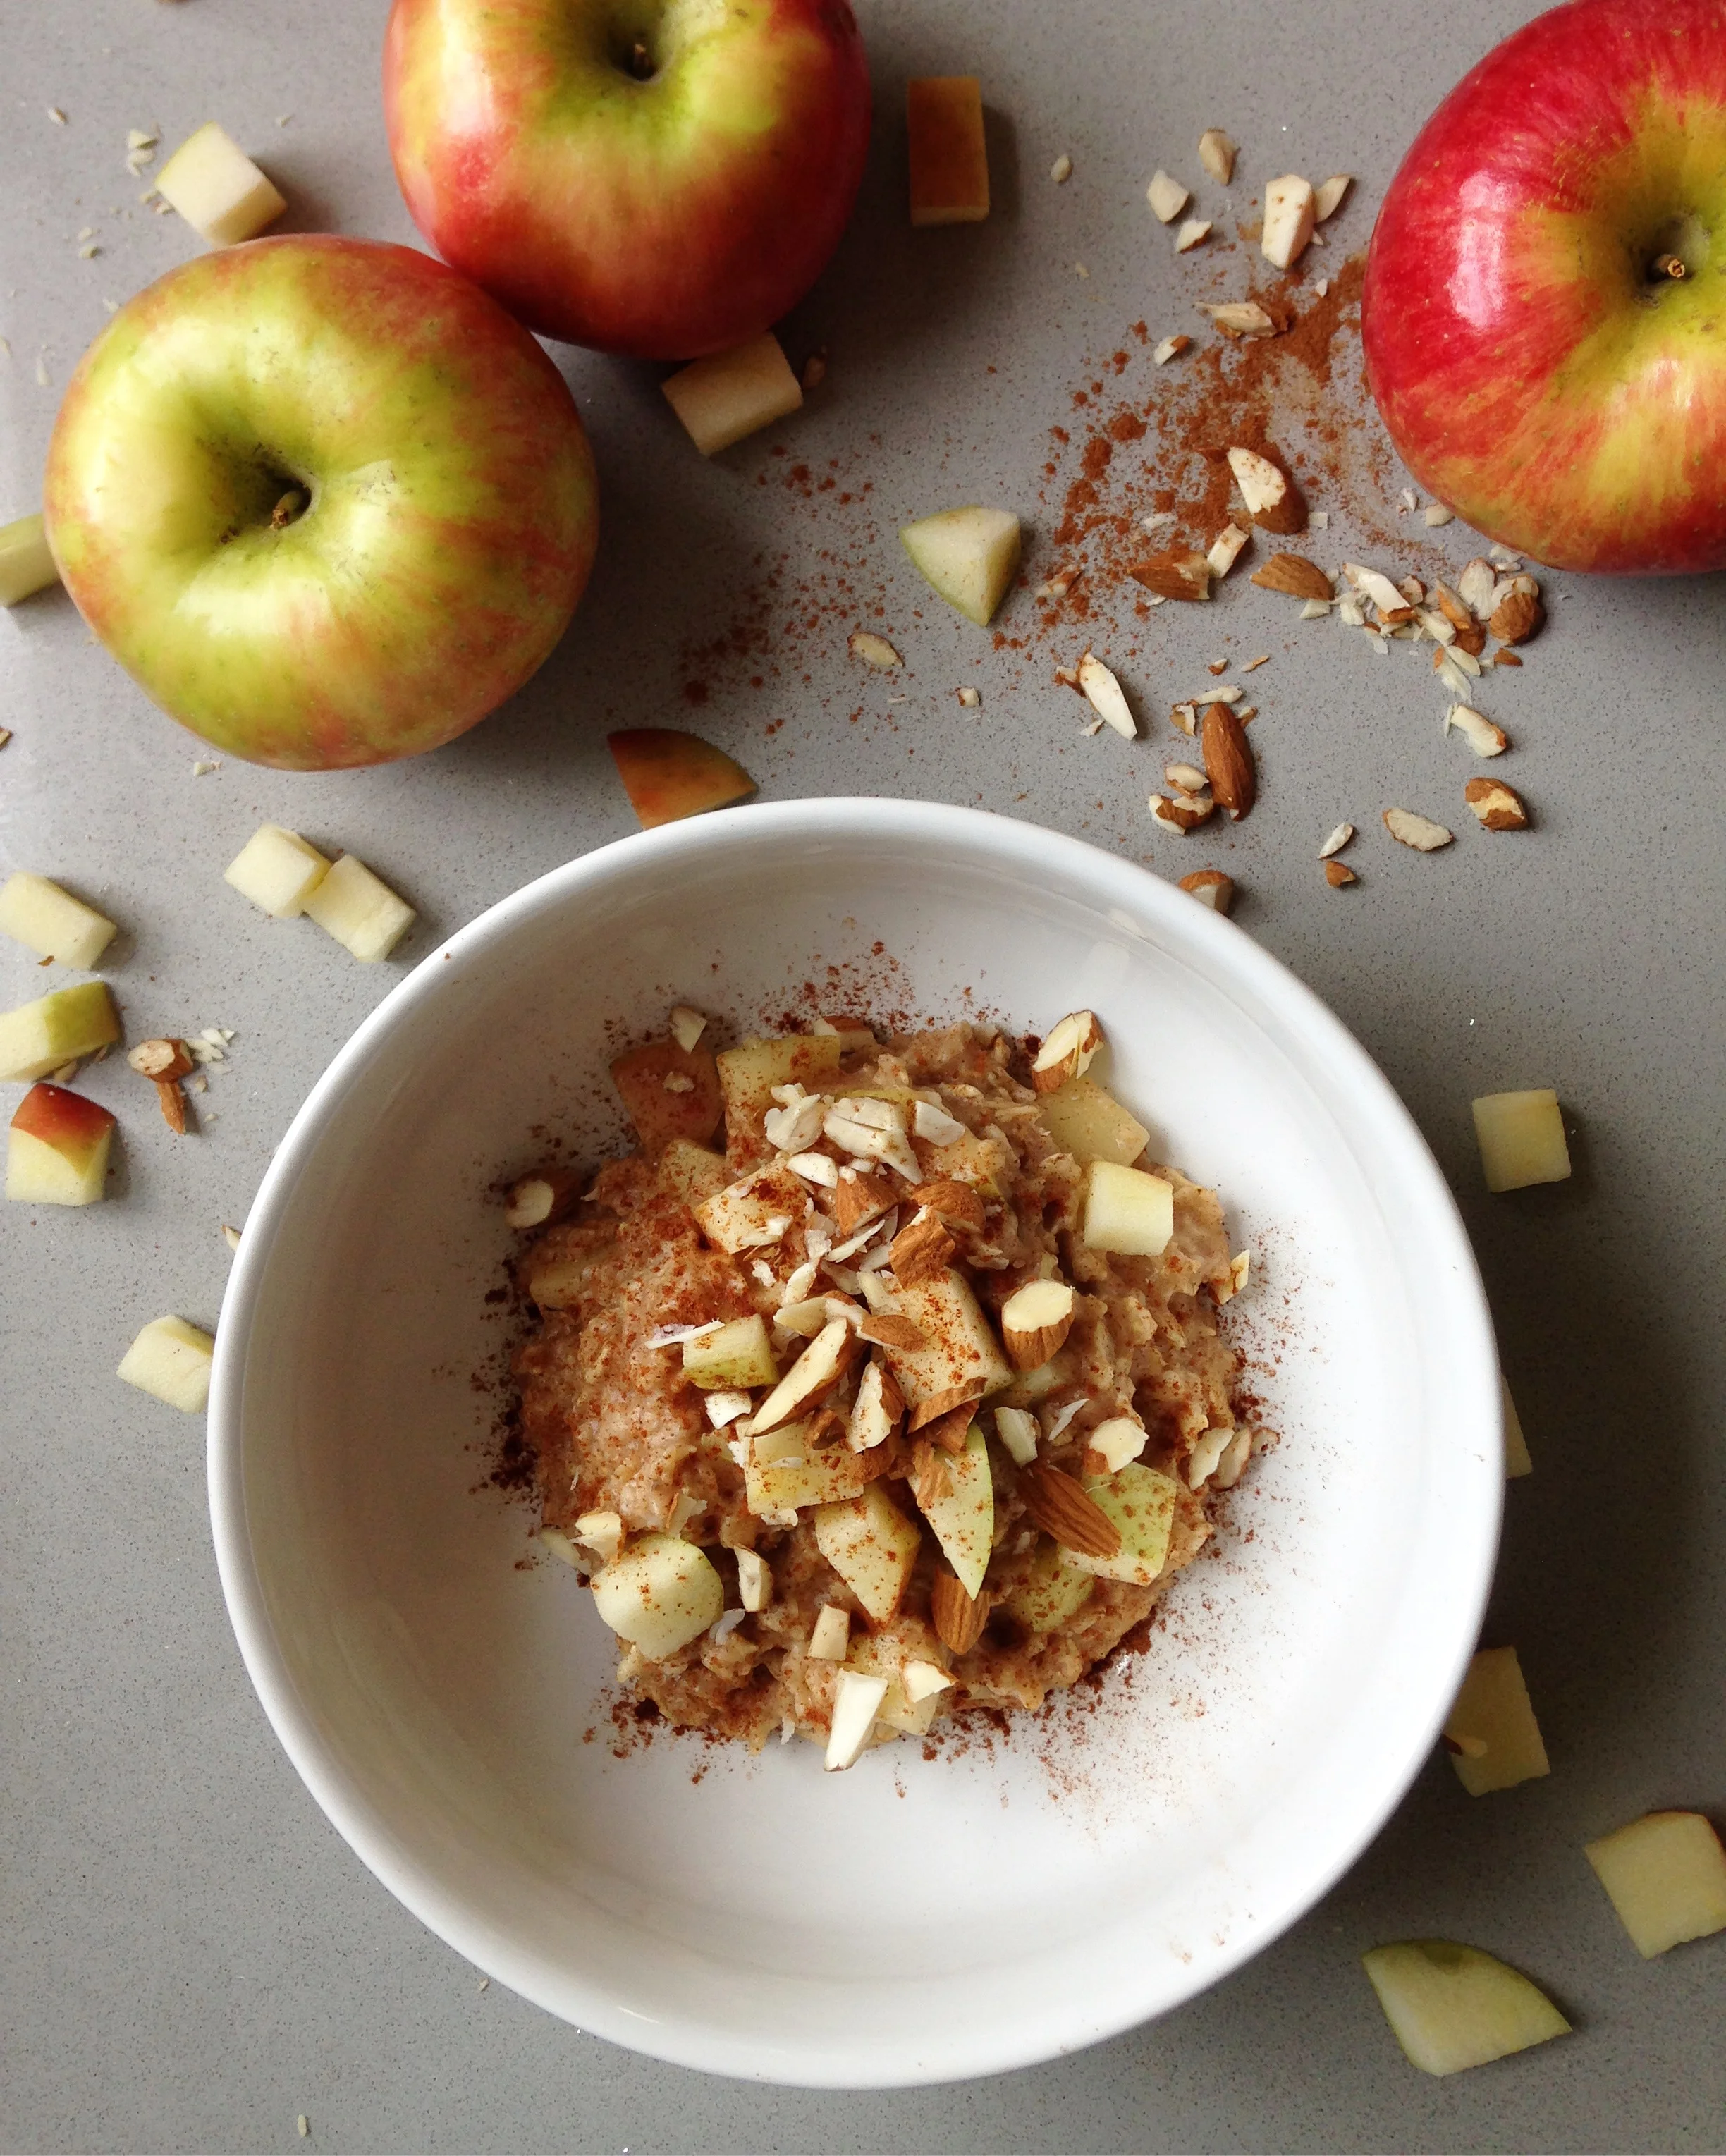
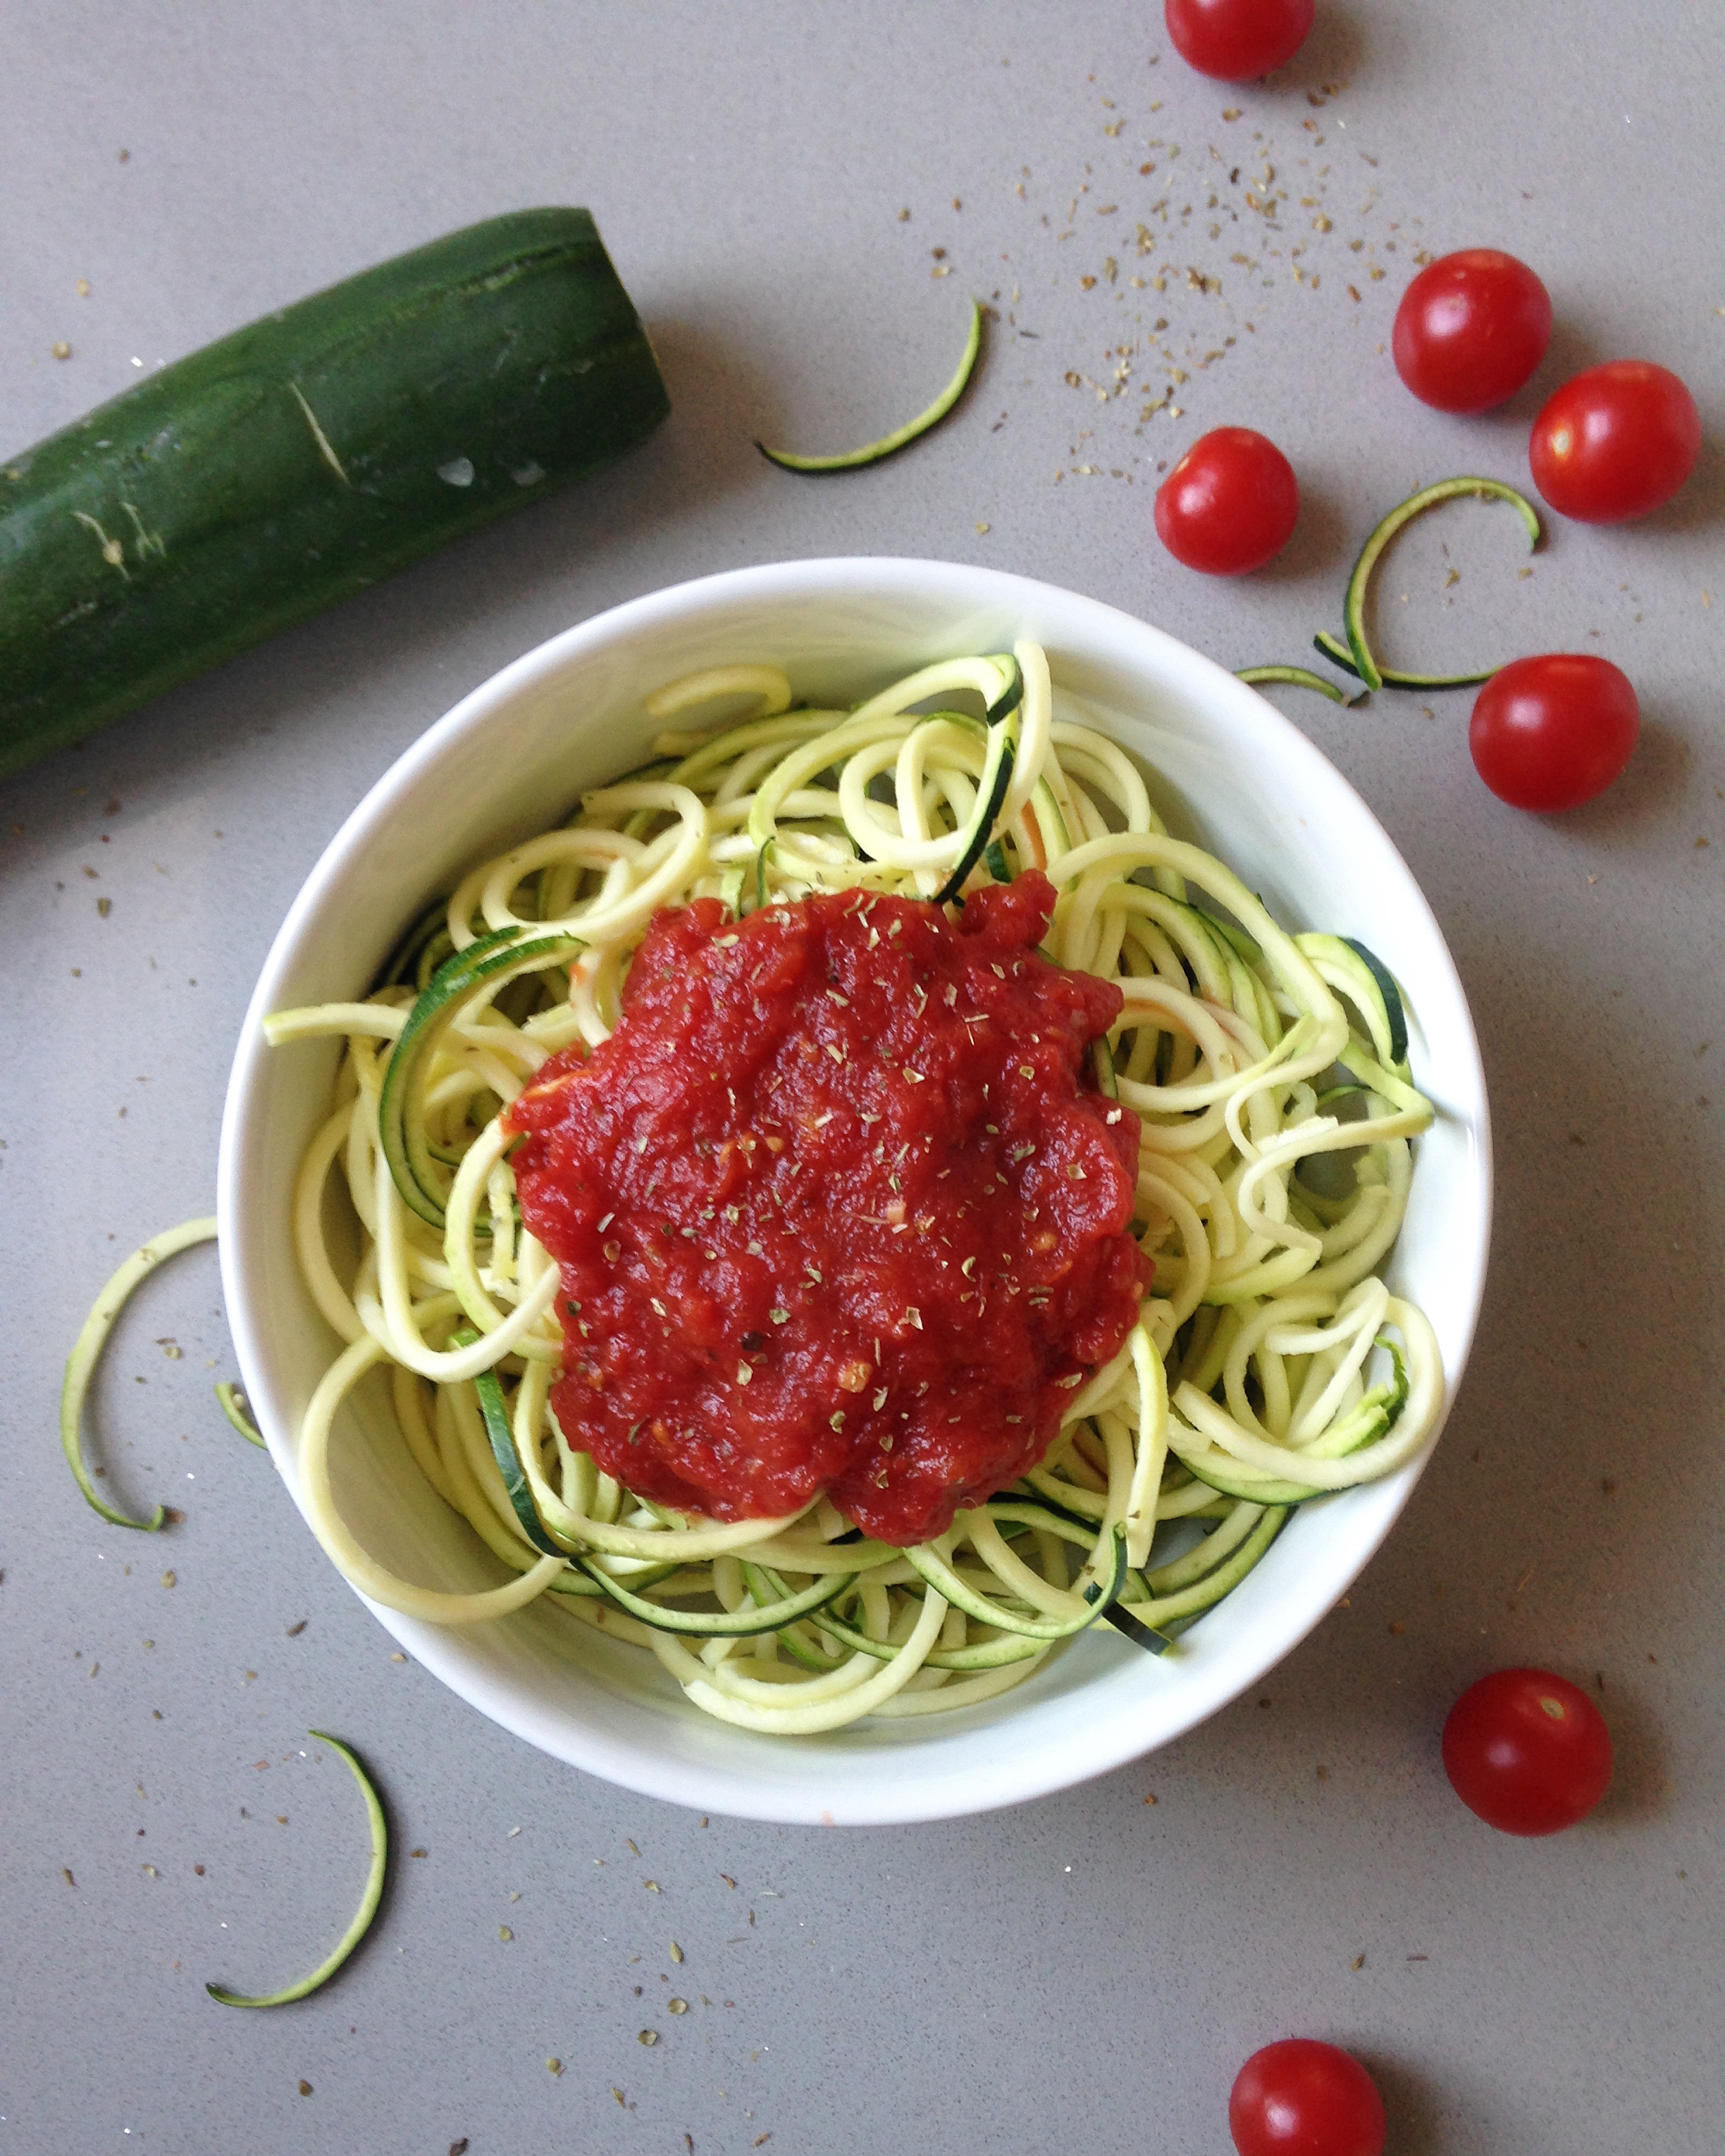
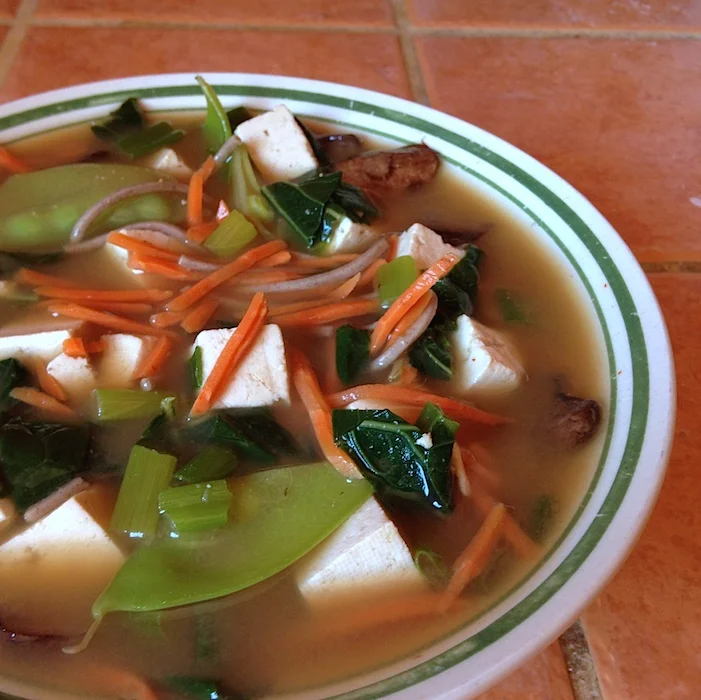
Anyway, that’s what inspired me to create this blog. I’m Kate, and I eat mostly vegan. I’m also a writer, which means I willingly signed up for a life of making less money than almost everyone else in my social circle. But you know what? It’s fine. My life is fun and fulfilling and I wouldn’t have it any other way. I plan to post plant-based recipes that are (mostly) healthy and that don’t cost a million dollars to make.

Please excuse the iPhone photos. I’m trying.

'Til next time,

Kate